Discover the Best DSLR Portrait Settings for Stunning Shots!
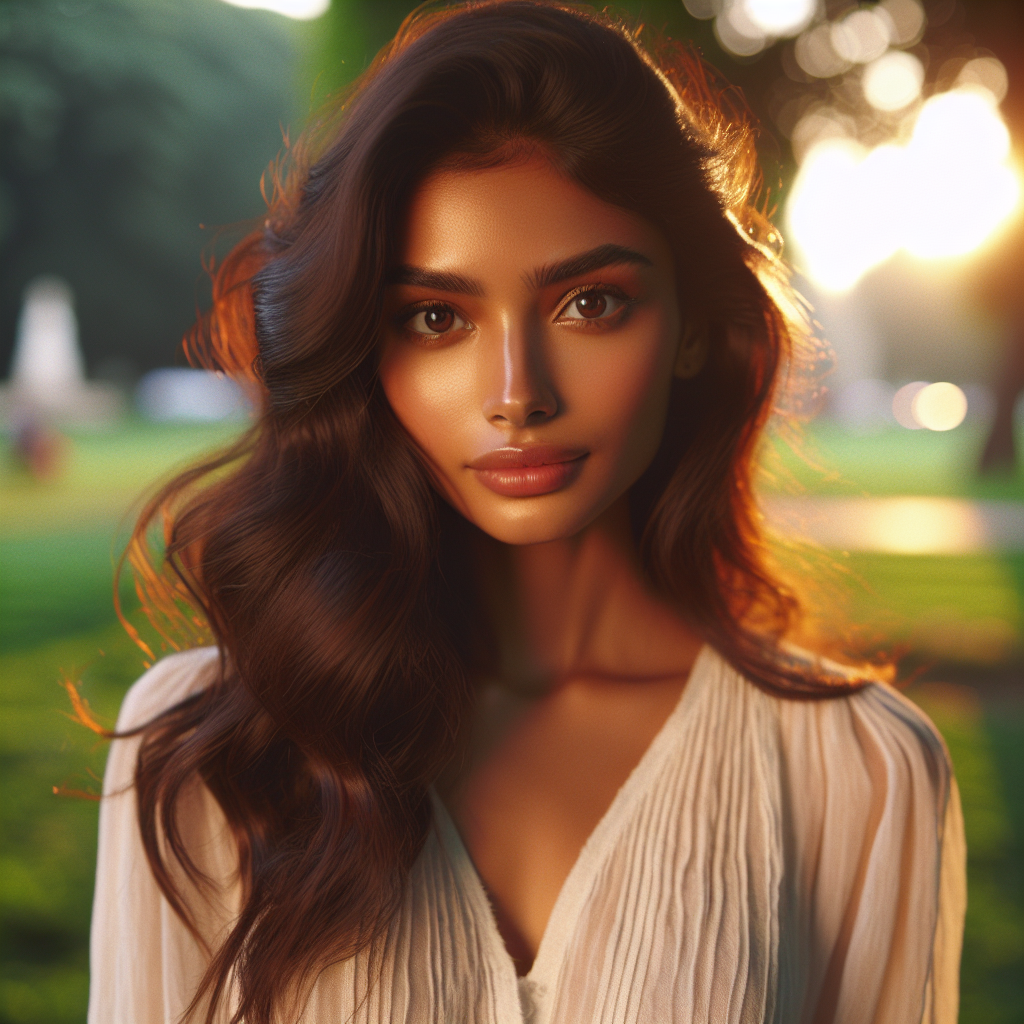
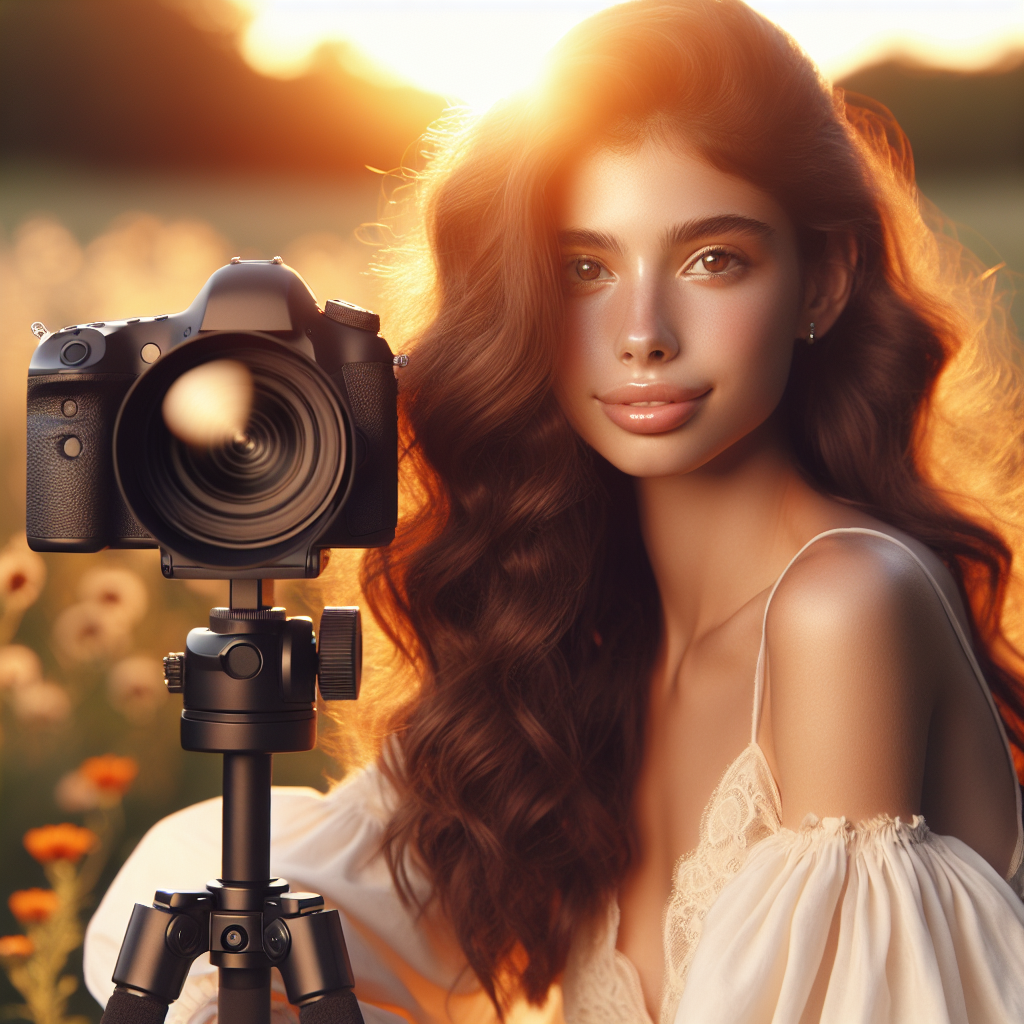
Embarking on the journey of portrait photography can be both exciting and challenging for beginners. Understanding the fundamentals is essential for capturing stunning shots that convey emotion and beauty. First and foremost, it’s important to grasp the concept of lighting. Natural light can be a photographer's best friend, especially during the golden hour, which occurs shortly after sunrise or before sunset. This soft, warm light creates flattering shadows and highlights that enhance facial features.
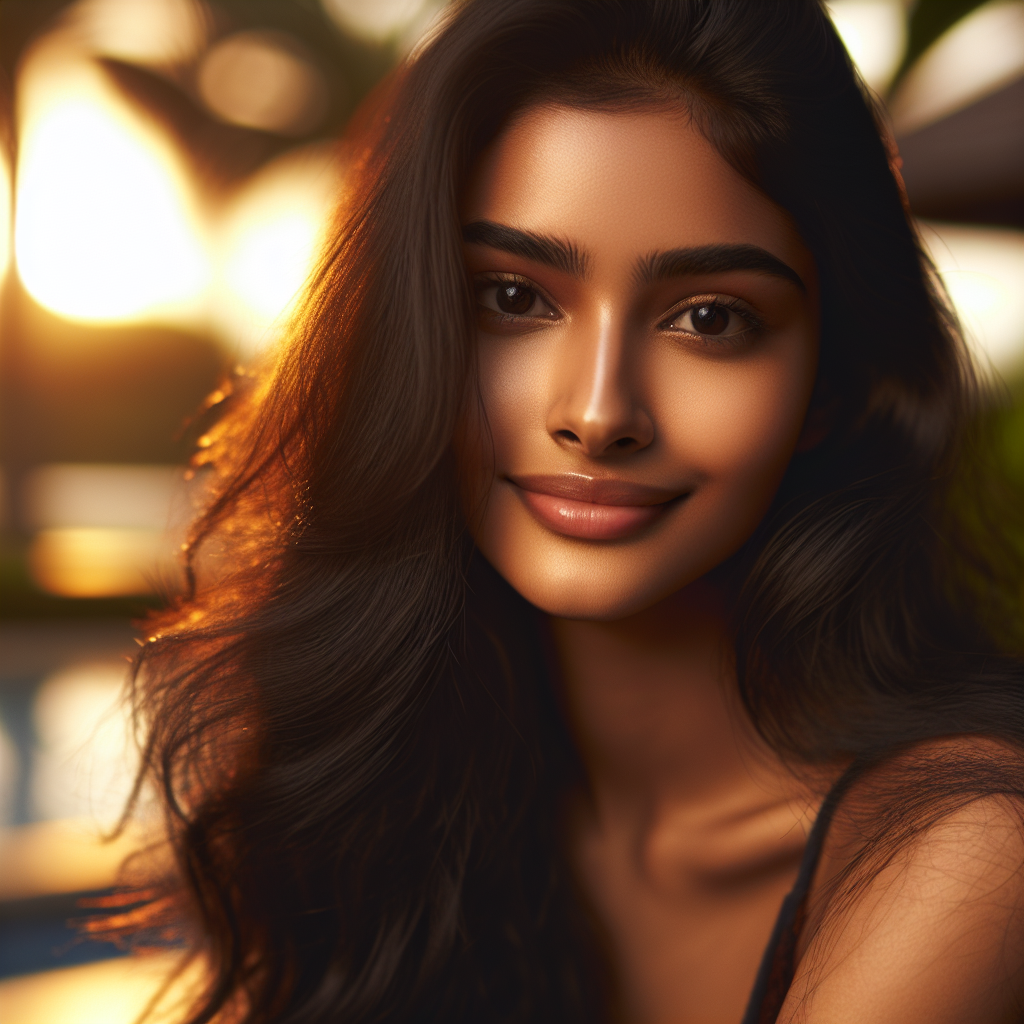
Another critical aspect is the aperture, which controls the depth of field in your portraits. A wider aperture (like f/1.8 or f/2.8) allows for a beautiful bokeh effect, making your subject stand out against a softly blurred background. On the other hand, a narrower aperture (like f/8) is ideal for group portraits where you want everyone in focus.
Composition plays a vital role as well. Remember the rule of thirds: placing your subject off-center can create a more dynamic and interesting image. Additionally, consider the angles from which you shoot; varying your perspective can lead to unique and captivating portraits.
To truly capture the essence of your subjects, engage with them during the shoot. A relaxed and comfortable model will naturally bring out genuine expressions, leading to memorable images. Ready to create breathtaking portraits? Book a session today and let’s capture those timeless moments together!
Essential DSLR Camera Settings for Portrait Photography

When it comes to taking stunning portraits, having a solid understanding of your DSLR camera settings is crucial. Here are some essential settings to consider:
- Shutter Speed: A shutter speed of at least 1/125 seconds is recommended to avoid motion blur, especially if you're photographing moving subjects or working in low light conditions.
- Aperture: As mentioned previously, using a wide aperture (like f/1.8 or f/2.8) helps to create that beautiful bokeh effect, which isolates the subject from the background and adds depth to your portraits.
- ISO: Keep your ISO as low as possible to reduce noise in your images. In well-lit conditions, aim for ISO 100-400. In dimmer settings, you may need to increase it, but be mindful of the potential for grain.
- White Balance: Adjust your white balance according to the lighting conditions. Use the auto setting for most situations, but experiment with different presets or manual settings to achieve the desired warmth and mood.
- Focus Mode: Utilize single-point autofocus for portraits. This allows you to choose the exact focal point, ensuring that your subject's eyes are sharp and in focus, which is essential for captivating portraits.
Understanding and mastering these settings can significantly enhance your portrait photography skills. Experiment with different combinations to see what works best for your style and subjects, and don't hesitate to take test shots to refine your technique.
Choosing the Right Lens for Stunning Portraits
Selecting the right lens is a vital component in achieving stunning portraits. The lens you choose can dramatically affect the composition, depth of field, and overall aesthetic of your images. Here are some factors to consider when choosing a lens for portrait photography:
- Focal Length: Lenses between 50mm and 135mm are ideal for portrait photography. A 50mm lens offers a natural perspective, while an 85mm or 135mm lens can create flattering compression and a beautifully blurred background.
- Prime vs. Zoom Lenses: Prime lenses, which have a fixed focal length, tend to produce sharper images and often have wider apertures, making them excellent for low-light conditions. However, zoom lenses provide versatility and convenience, allowing for quick adjustments without changing lenses.
- Aperture: Lenses with wide apertures (like f/1.4, f/1.8, or f/2.8) are perfect for creating that sought-after bokeh effect. A shallow depth of field draws attention to your subject and blurs distracting backgrounds.
- Image Stabilization: If you plan to shoot handheld or in challenging lighting conditions, consider a lens with image stabilization. This feature helps minimize camera shake, ensuring sharper images.
- Compatibility: Always check if the lens is compatible with your camera body. Different manufacturers have specific mount types, so make sure your chosen lens fits your DSLR.
By understanding these elements and how they interact, you can select the perfect lens that aligns with your vision and enhances your portrait photography skills.
Lighting Techniques to Enhance Your Portrait Shots

Lighting is one of the most crucial aspects of portrait photography, as it dramatically influences the mood, tone, and overall quality of your images. Mastering different lighting techniques can elevate your portraits from ordinary to extraordinary. Here are some effective lighting methods to consider:
- Natural Light: Utilizing natural light, especially during the golden hour (shortly after sunrise or before sunset), can create soft, flattering illumination. Position your subject facing the light source to achieve a vibrant and lifelike appearance.
- Reflectors: Reflectors are excellent tools for bouncing light back onto your subject, reducing harsh shadows and adding a gentle glow. You can use white, silver, or gold reflectors depending on the desired warmth and tone.
- Diffusers: If sunlight is too harsh, using a diffuser can soften the light. You can employ a variety of materials, such as sheer fabric or specialized diffusion panels, to create a more flattering light on your subject.
- Off-Camera Flash: For more control over lighting, consider using off-camera flash. This technique allows you to position the light source at different angles, creating dramatic effects and highlights that enhance your subject's features.
- Backlighting: Experimenting with backlighting can produce stunning portraits with a dreamy, ethereal quality. Position the light source behind your subject to create a halo effect, emphasizing their outline.
Each of these lighting techniques offers unique advantages and can be combined for even more creative results. By understanding and practicing these methods, you can transform your portrait shots into captivating works of art.
Tips for Composition to Capture Beautiful Portraits

Composition plays a vital role in portrait photography, influencing how the viewer perceives the subject and the overall image. Implementing thoughtful composition techniques can help you create compelling and beautiful portraits. Here are some essential tips to keep in mind:
- Rule of Thirds: Divide your frame into a 3x3 grid and position your subject along these lines or at their intersections. This technique creates a sense of balance and draws the viewer's eye to the subject.
- Leading Lines: Use natural lines within your environment, such as pathways, fences, or architectural elements, to guide the viewer's attention toward your subject. This adds depth and interest to your composition.
- Negative Space: Incorporating negative space can enhance your portrait by emphasizing the subject. Leave empty areas around your subject to create a sense of simplicity and focus.
- Framing: Utilize natural elements like trees, doorways, or windows to frame your subject. This technique adds context to your portrait and helps isolate the subject from the background.
- Perspective and Angles: Experimenting with different angles and perspectives can lead to unique and engaging portraits. Try shooting from above, below, or at eye level to capture your subject in a fresh way.
By applying these composition tips, you can significantly enhance the visual appeal of your portraits. Remember, the key is to be creative and to let your artistic vision shine through in every shot.
Post-Processing Tips to Elevate Your Portrait Photography

Once you've captured stunning portraits, the next step is to enhance them through post-processing. This stage is crucial for refining your images and bringing out the best in your photography. Here are some effective post-processing tips to elevate your portrait photography:
- Adjust Exposure: Start by correcting the exposure to ensure your image is neither too dark nor too bright. A well-exposed portrait highlights the details of your subject's face.
- Enhance Colors: Use color correction tools to make the skin tones look natural and vibrant. Adjust the saturation and vibrance to ensure your portraits pop without appearing artificial.
- Sharpen Details: Utilize sharpening tools to enhance key details, such as the eyes and hair, while being careful not to overdo it. This will help your subject stand out and draw attention.
- Retouch Skin: Light retouching can smooth out skin imperfections and create a polished look. Use tools that allow for subtle adjustments, maintaining a natural appearance.
- Add a Vignette: A subtle vignette can help focus the viewer's attention on your subject by darkening the edges of the image. This technique adds depth and dimension to your portraits.
Post-processing is an art form in itself, and by mastering these techniques, you can transform your portraits into stunning works of art. If you're looking to capture timeless memories with professional quality, book a session with Samantha Bencomo Photography today!